
Digital dentistry has changed the way implant planning and surgical preparation are performed. Instead of relying only on traditional physical models, dental professionals can now combine digital scanning, design software, and additive manufacturing to create customized surgical guides with greater workflow efficiency.
A dental clinic 3D printer allows clinicians to produce patient-specific dental devices directly from digital files. Among these applications, surgical guide printing is one of the most valuable workflows because it supports guided implant procedures and improves communication between digital planning and clinical treatment.
For clinics considering a 3D printer for dental clinic applications, understanding the complete printing process is essential. From collecting patient data to post-processing the final guide, each step affects accuracy and clinical usability. SHINING 3D Dental’s AccuFab-Aris is designed as a dental 3D printing solution that supports applications including surgical guides, restorations, dentures, splints, and dental models.
What Is a Printed Surgical Guide?
A surgical guide is a customized dental device used to assist dentists during implant placement procedures. It is designed based on patient-specific digital information and helps guide implant positioning according to the treatment plan.
By using digital planning software, clinicians can evaluate anatomical structures, determine implant positions, and create a guide that matches the patient’s oral condition.
A printed surgical guide typically requires accurate digital data, appropriate design parameters, and reliable manufacturing equipment. This is why selecting the right dental model 3D printer or dental production system is important for achieving consistent results.
Why 3D Printing Is Used for Surgical Guides?
Traditional manufacturing methods may require more manual steps and longer production cycles. Digital printing allows dental teams to move from a virtual design to a physical guide more efficiently.
A dental clinic 3D printer helps shorten the distance between treatment planning and production. Clinics can either produce guides internally or integrate printing into a connected digital workflow with dental laboratories.
Step-by-Step Process of Printing Surgical Guides
Step 1: Collecting Digital Patient Data
The first step in creating a surgical guide is collecting accurate patient information. Dental professionals typically combine intraoral scanning data with CBCT information to create a complete digital representation of the patient’s oral condition.
The intraoral scan provides detailed information about teeth and soft tissues, while CBCT data provides information about bone structures and anatomical conditions. Together, these datasets support accurate implant planning. SHINING 3D Dental’s surgical guide workflow recommends using intraoral scanning data together with CBCT information before designing the surgical guide.
Step 2: Designing the Surgical Guide
After collecting patient data, the next step is digital design. Dental professionals use specialized software to plan implant placement and create the surgical guide structure.
During the design process, important factors need to be considered:
- Implant position and angle
- Guide support area
- Surgical access design
- Patient comfort
- Required accuracy
The final design file is usually exported in a format suitable for dental printing workflows. For SHINING 3D Dental workflows, surgical guide designs can be prepared through dental design software and exported as compatible STL files for printing preparation.
Step 3: Preparing the File for Printing
Before printing begins, the digital model needs to be processed through slicing software. This stage converts the 3D design into printing instructions.
The preparation process includes:
- Adjusting model orientation
- Adding necessary supports
- Setting printing parameters
- Checking the final printable structure
A reliable dental model 3D printer workflow depends on proper file preparation because incorrect orientation or support placement may affect surface quality and dimensional accuracy.
Step 4: Printing the Surgical Guide
Once the file is prepared, the design is transferred to the printer. A resin-based dental printer creates the guide layer by layer using photopolymerization technology. A suitable 3D printer for dental clinic use should provide stable printing performance, accurate detail reproduction, and compatibility with dental materials designed for surgical applications.
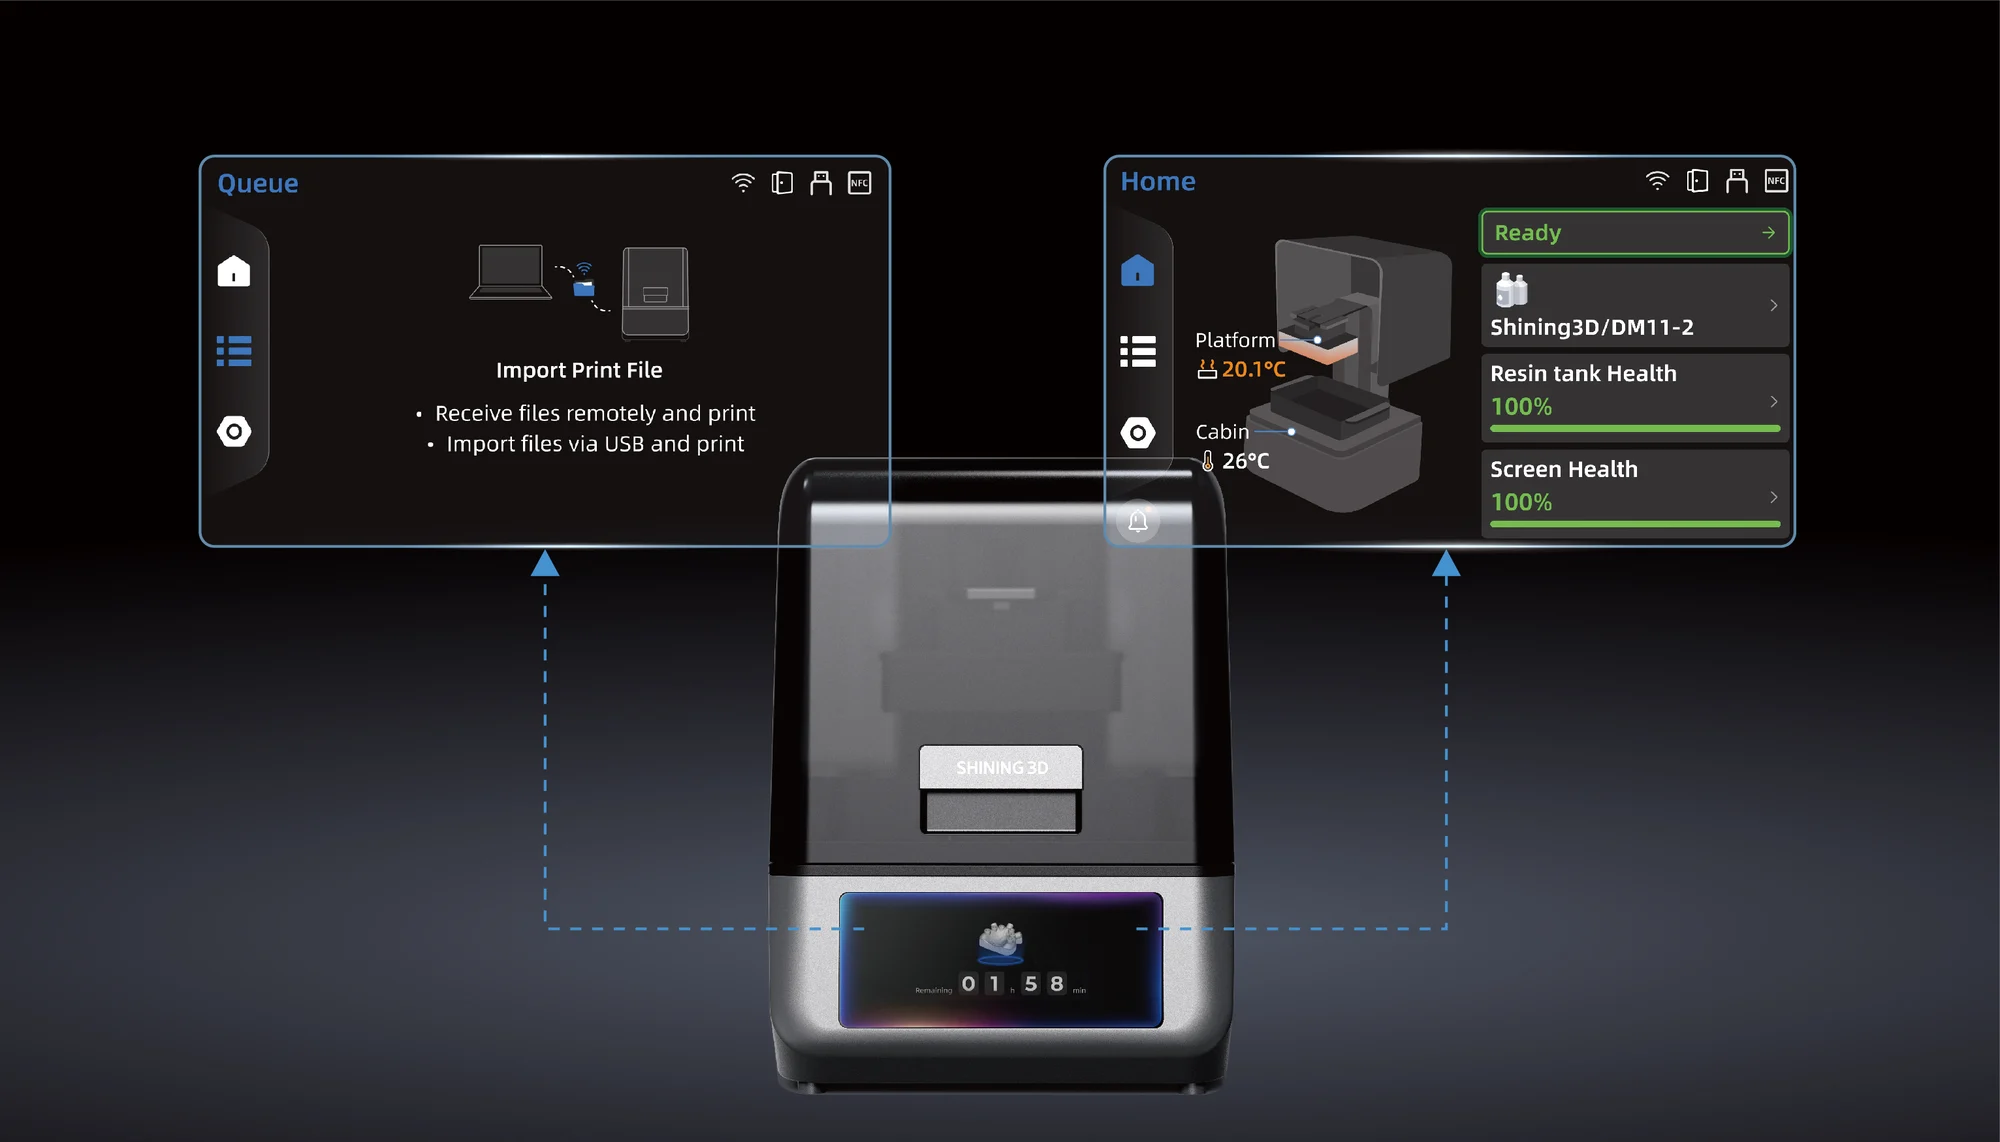
The SHINING 3D Dental AccuFab-Aris features a 4K high-resolution LCD system with 34 μm precision and supports surgical guide applications. Its compact design, automated functions, and dental-focused workflow features make it suitable for daily clinical use.
Step 5: Cleaning, Curing, and Quality Inspection
After printing, the surgical guide requires post-processing before clinical use. The printed part needs to be cleaned to remove residual resin and then properly cured to achieve the required material properties.
The final inspection process includes checking:
- Surface quality
- Dimensional accuracy
- Guide fit
- Structural integrity
Proper post-processing is essential because even a well-designed surgical guide requires correct handling after printing to achieve reliable performance.
Advantages of Using a Dental Clinic 3D Printer for Surgical Guides
Faster Production and Improved Workflow Control
A major advantage of using a dental clinic 3D printer is improved control over production timing. Instead of sending every case externally, clinics can manage selected digital manufacturing tasks within their own workflow.
This can help reduce communication delays and allow dental teams to respond more efficiently to treatment requirements.
- Better Integration With Digital Dentistry
A modern 3D printer for dental clinic applications can connect with digital scanning and design systems to create a continuous workflow.
The AccuFab-Aris integrates with SHINING FLOW, a digital dentistry ecosystem designed to connect scanning, design, and printing processes. This helps streamline the transition from patient data acquisition to final production.
- Supporting Multiple Dental Applications
Although surgical guides are an important application, dental printing systems can support many other workflows. A versatile dental model 3D printer can also be used for producing dental models, restorations, dentures, and splints.
This flexibility allows clinics to maximize the value of their digital manufacturing investment.
Choosing the Right 3D Printer for Surgical Guide Production
When selecting a printer for surgical guide workflows, dental professionals should evaluate several factors:
- Printing Accuracy
Surgical guides require precise reproduction of digital designs. The printer should provide consistent results and support detailed structures.
- Material Compatibility
The system should support dental materials suitable for surgical applications. Material selection influences strength, stability, and clinical performance.
- Workflow Simplicity
For dental clinics, ease of operation is important. Equipment that reduces setup complexity and maintenance requirements can help staff adopt digital printing more effectively.
- Space and Integration Requirements
A compact system can be beneficial for clinics with limited space. The printer should also connect smoothly with existing digital dentistry tools.
SHINING 3D Dental AccuFab-Aris for Clinical Printing Workflows
SHINING 3D Dental develops digital solutions that support modern dental production. The AccuFab-Aris is positioned as a dental 3D printer for daily clinical use, supporting applications such as surgical guides, models, restorations, dentures, and splints.
The printer offers features designed for clinical workflows, including automatic leveling, smart detection functions, flexible connectivity options, and compatibility with digital dental processes. Its compact footprint and simplified operation help dental professionals integrate printing technology into everyday practice.
Conclusion
Printing surgical guides with a dental clinic 3D printer involves multiple steps, including digital data collection, guide design, file preparation, printing, and post-processing. Each stage contributes to the final accuracy and usability of the surgical guide.
For clinics looking to adopt digital manufacturing, a reliable 3D printer for dental clinic can help create a more efficient workflow while expanding in-house production capabilities. With solutions such as SHINING 3D DENTAL‘s AccuFab-Aris, dental professionals can integrate advanced 3D printing technology into implant planning and other digital dentistry applications.
